Video transcoding is happening all around us, and, if you master the process, it can make your video workflow far more efficient, cost effective and pleasurable. But what is video transcoding, how does it work and what do you need to know to transcode correctly?
We’ll answer all of these questions and a lot more in this guide to video transcoding.
Table of Contents
Large File Transfer for Video Pros
Use MASV to share raw and transcoded media to anywhere in the world.
What is Video Transcoding?
Video transcoding is the process of transforming your video and audio media file from one format into another, in order for that new media file to better fulfill a specific purpose.
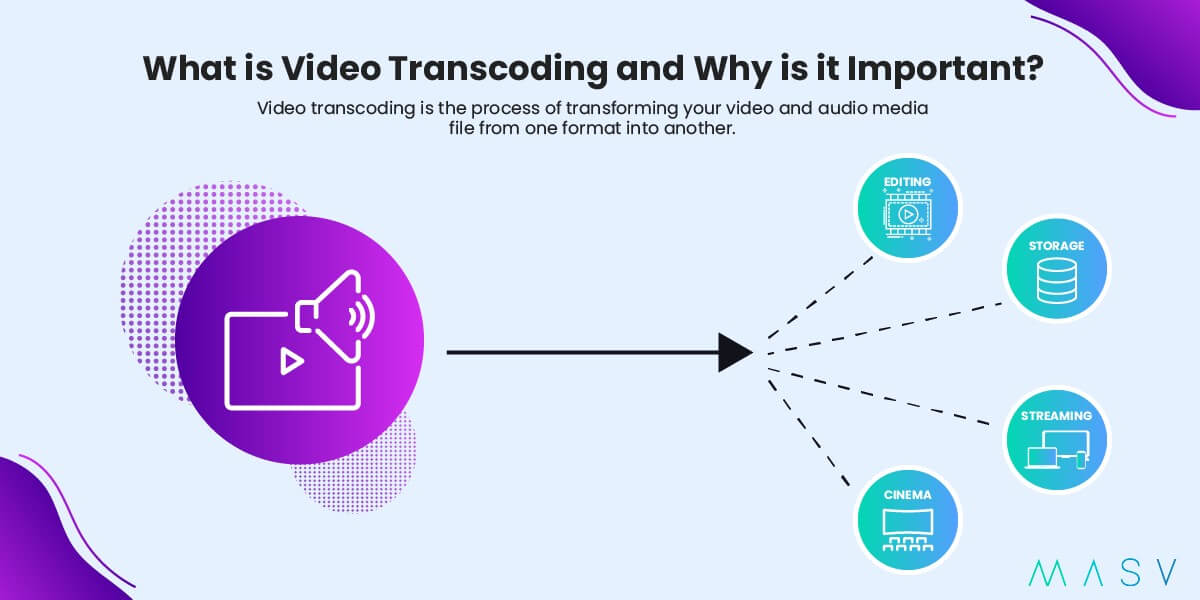
In our media-saturated world, transcoding happens all the time. For example, if you share the video you just shot on your iPhone via WhatsApp, WhatsApp ‘prepares’ the video for sharing, which is to say it transcodes it into a smaller resolution and file size in order for you to be able to easily share it with your friend across their network.
The original video file on your phone is untouched, but a new copy has been made with different technical specifications, in order to better suit the intended purpose.
(This is also why you should never send your video editor assets over WhatsApp as it seriously reduces the quality in the process!)
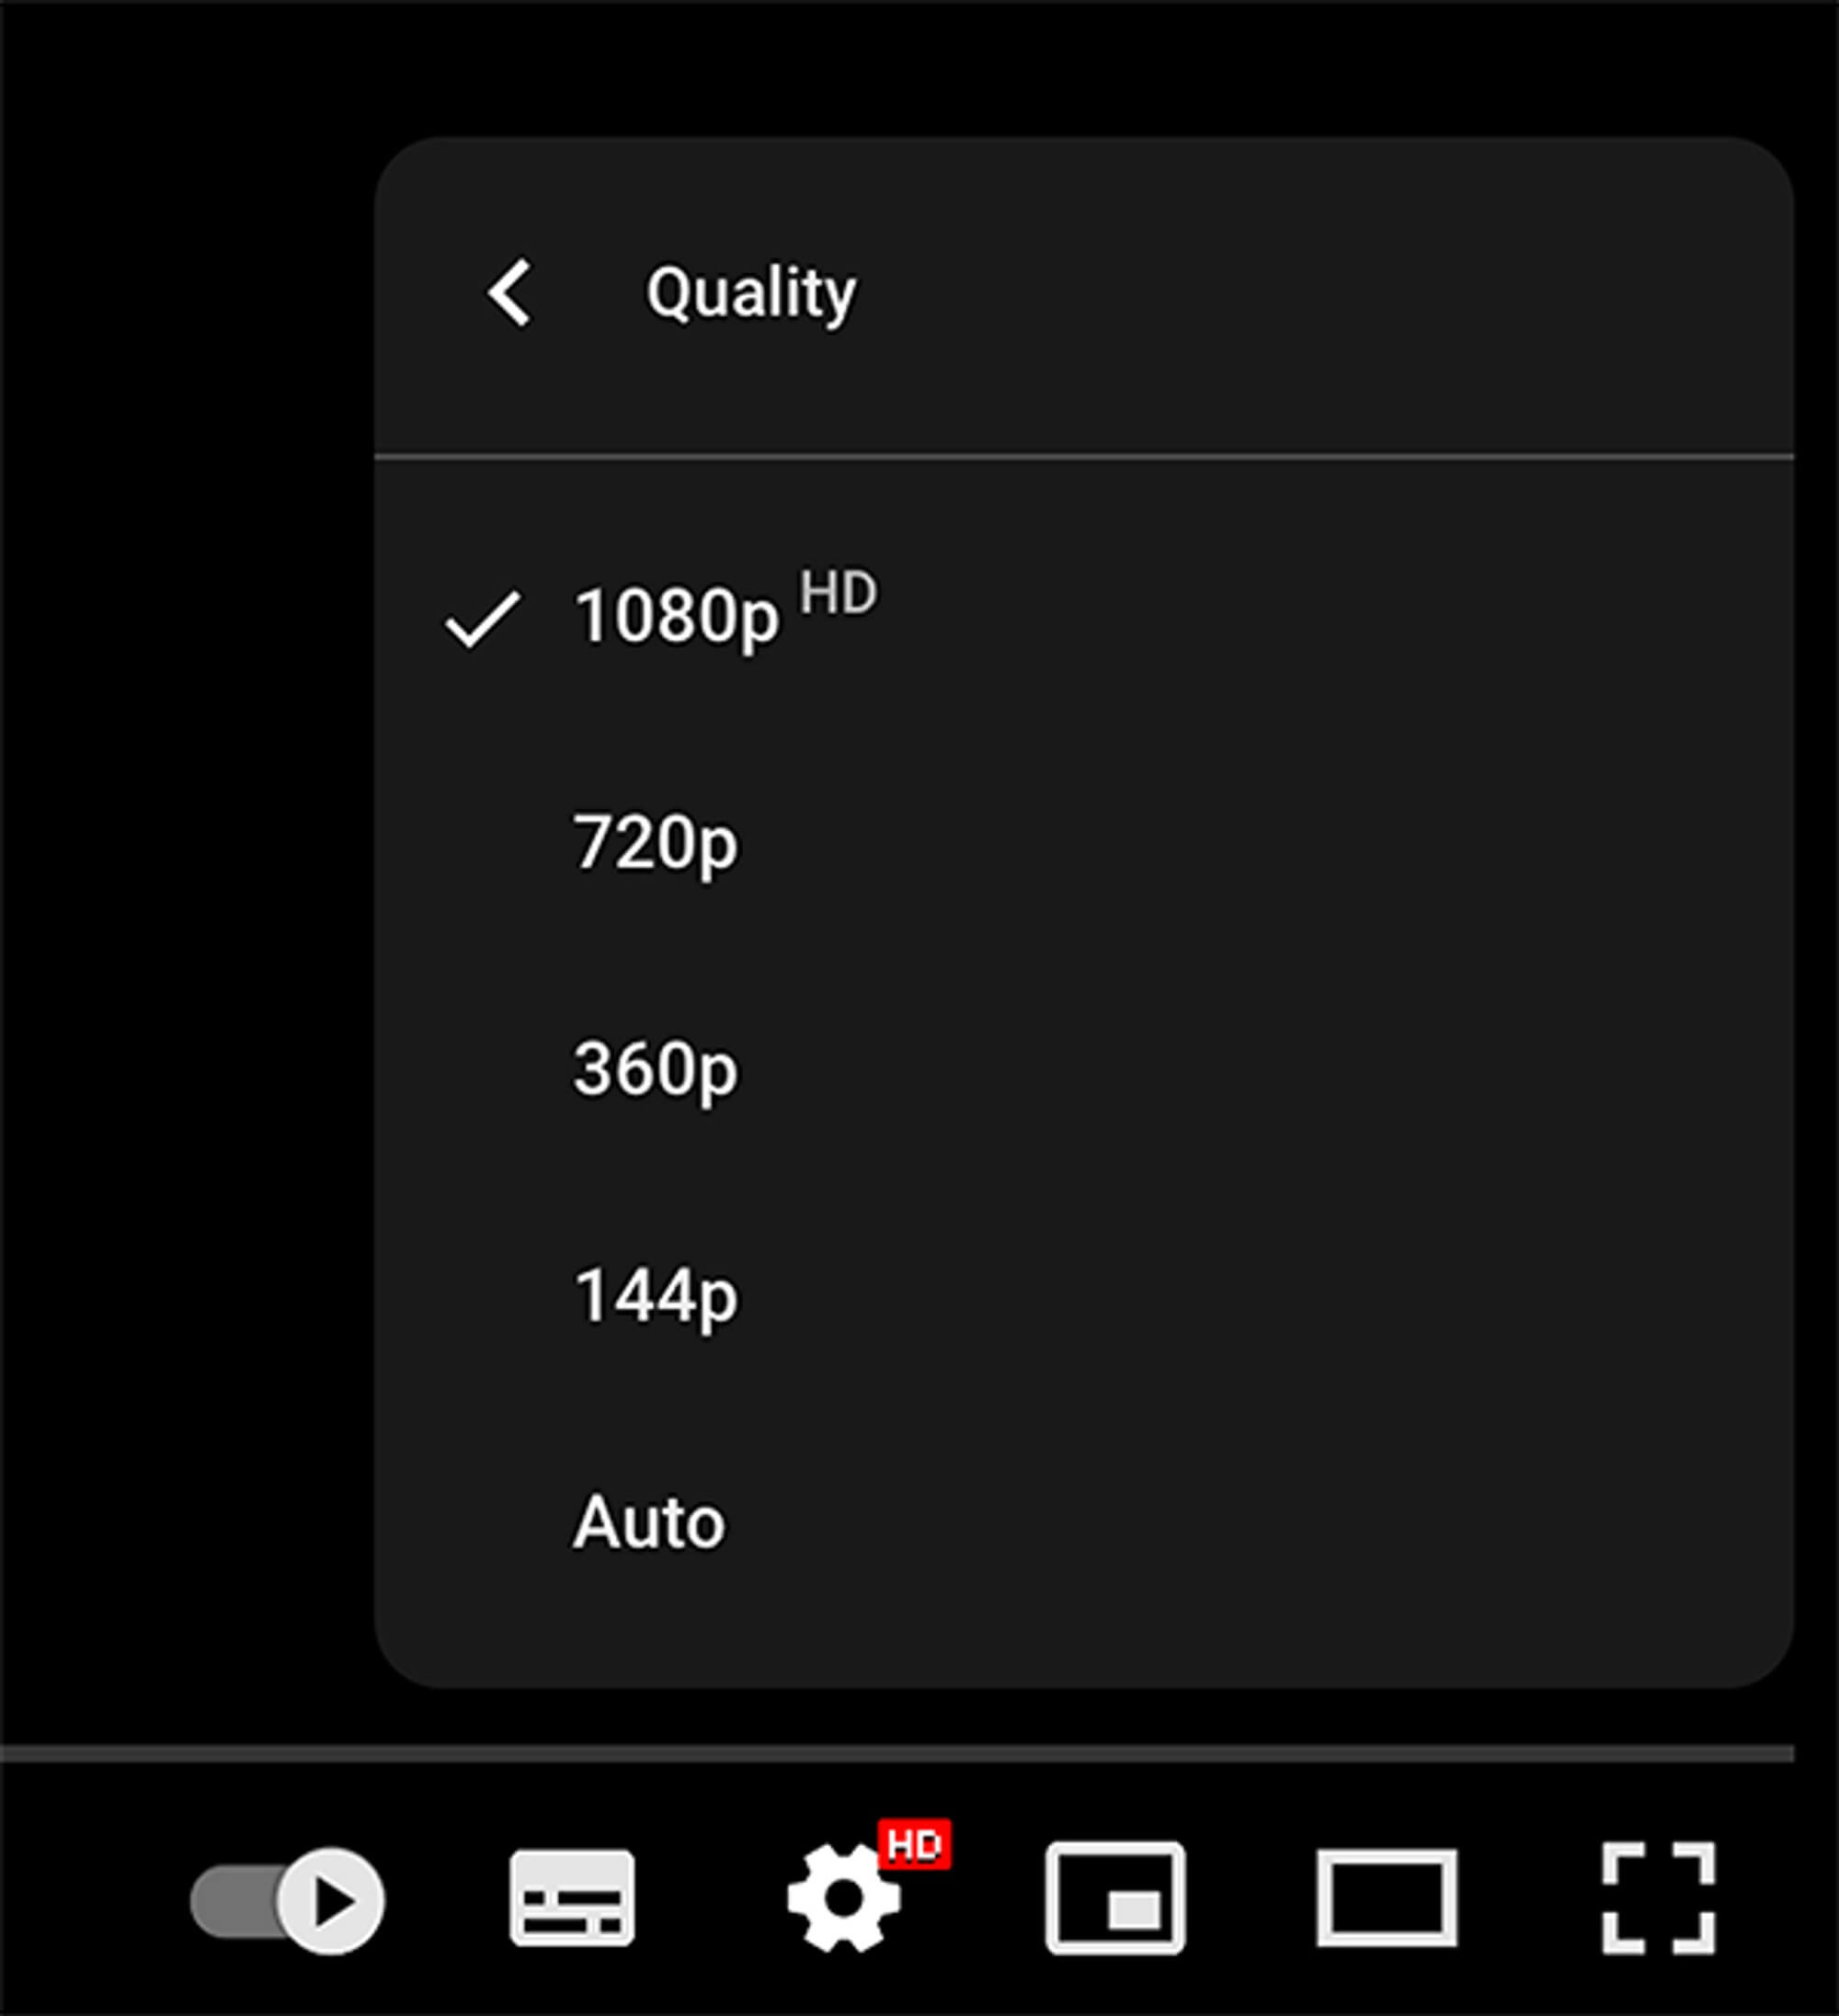
Or, in another example, when you upload a video to YouTube, it transcodes it into several different resolutions and formats ready for online streaming. YouTube’s servers will offer you the appropriate version of the video file depending on the speed of your internet connection. The faster a connection you have, the better quality file it can reliably send you.
How does Video Transcoding Work?
To understand how video transcoding works, we first need to explore the various component parts of a video file and how these can change during the video transcoding process.
Each video file is made up of four elements
- The Container or Wrapper – e.g .mov, .mp4, .avi etc
- The Video Codec – The ‘flavour’ of the video content
- The Audio Codec – The ‘flavour’ of the audio content
- Additional Metadata
FYI: Codec is short for compression decompression and refers to the process of encoding visual or audio data into a compressed file format for storage and transport. It is then decoded (unpacked) again at the other end.
Each codec ‘flavour’ uses its own mathematical algorithm (recipe) to achieve this and some are better designed to compress quickly (camera acquisition) while others are designed to decompress efficiently (streaming files).
Video Codecs Explained
There are many different ‘flavours’ of video codec, such as H.264, Pro Res, ARRI RAW, DNxHD and each is intended for a different purpose.
- ARRI RAW is excellent as an acquisition format because it can capture a lot of high quality data quickly but stores it in massive file sizes that require a lot of storage space and computing power to work with.
- H.264 is what a lot of video you see on the internet is currently encoded as, because it can deliver decent visual quality with relatively small file sizes and doesn’t require a lot of processing power to view (decode).
💡 Read More: What is AI Video Compression?
A Simple Video Transcoding Example
Video Transcoding is the process then of:
- Opening up the wrapper,
- Making a copy of the file from one video and audio codec to another,
- And then either putting it back into the same wrapper or changing the file format too.
For example, camera original files such as .R3D (red files) or .MXF files take up a lot of storage space and require a lot of computer power to handle. But these can be transcoded to another format, such as a ProRes .mov file for easier editing in software like Adobe Premiere Pro or DaVinci Resolve.
This is because the ProRes codec is easy for computers to work with and it can deliver high quality looking files at a fraction of the storage space.
All video and audio files also have other important parameters that can also be changed during the transcoding process to better suit the intended purpose; these parameters all affect the final file size and media quality.
- Video Bitrate (How much data is given to each frame, higher = better quality)
- Video Frame Rate (24 fps, 25 fps, 29.97 fps etc)
- Video Resolution (Size in pixels 3840 x 2160, 1920 x 1080, 1280 x 720 etc.)
- Audio Bitrate (Quality)
- Audio Sample Rate
- Audio Channels
So in our opening example, the original iPhone video would likely have had a higher quality audio and video bitrate and video resolution (for example, 1920 x 1080) than the version that was transcoded and shared on WhatsApp (for example 640 x 360).
Need to Send Big Files? We Got You.
Use MASV to share large files entirely online. Get started today in seconds.
Why is Video Transcoding Useful?
So if we add all of this together we can see why video transcoding is so useful and essential at different stages of the video post-production workflow.
At each stage of the process different media files are created with different uses in mind.
- Camera Original Media
- Editing Media
- Delivery Media
- Distribution Media
As a general rule the files created at the start of this process will be at their highest raw quality, while thereafter some compromises will be made in order to balance the requirements of visual quality, file size and computing power depending on what is needed.
A common complete workflow would be:
- Transcode the original camera files into a more editing friendly format.
- Once editing is completed, the final master files would be created, transcoding them from the editing format to the delivery specification, and delivered.
- These would then be transcoded from the master files into the various distribution formats required. These might include Blu-Ray MPEG files, H.264 mp4’s for online streaming and many more.
Transcoding the video files in this way ensures the best possible experience for the end user at the time. Any editor who has worked with high-quality, computationally-intense and storage-hogging video files knows that this doesn’t make for a smooth or efficient video editing experience.
The file sizes are often too large for anything. Even the fastest hard drive would struggle to deliver data quickly enough from the drive to the computer without skipping or dropping frames, leading to stuttering playback. Or, the high-resolution makes adding effects and filters bog down the system to another stand still.
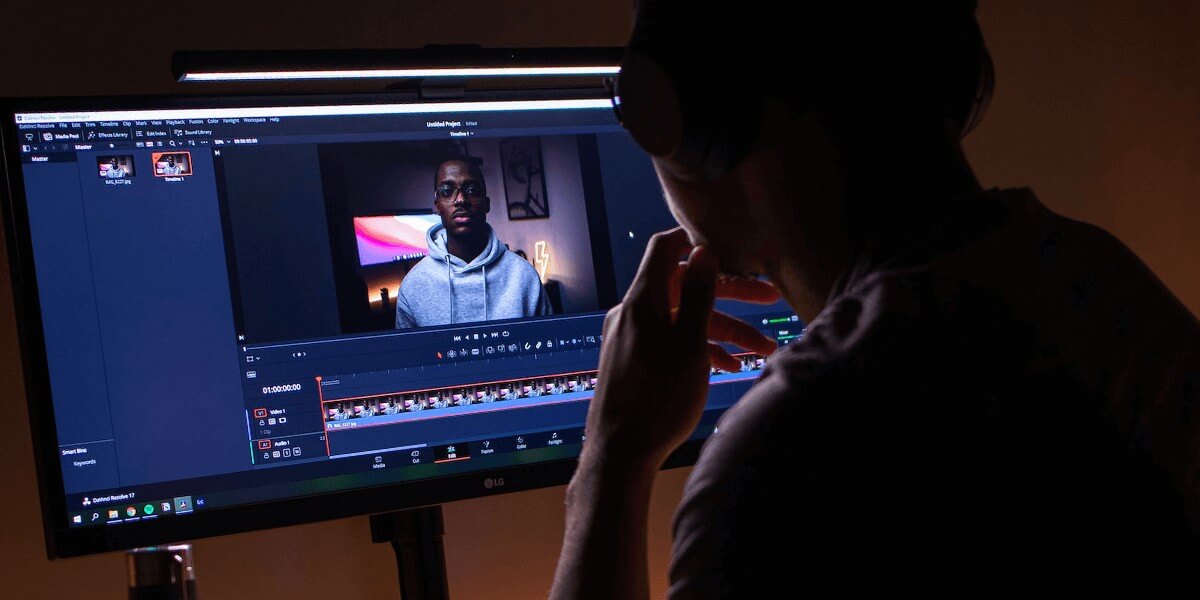
Photo by Nubelson Fernandes on Unsplash
Common Video Transcoding Workflows
Let’s take a look at some common video transcoding workflows and some of the important considerations for each.
But before we do, one question we need to consider is: Does transcoding reduce quality?
The answer is both yes and no. It all depends on how you do it and why you’re doing it.
- In some senses, no transcoding doesn’t reduce quality, in the way that taking a photocopy of something might do — especially if you take a photocopy of a photocopy. There is no ‘generational’ loss between the copies if you don’t intend to introduce one.
- But, on the other hand, yes transcoding reduces quality, but usually this is the intention because you’re throwing away some of the data in order to reduce the file size or serve another purpose.
It is worth mentioning that there are also some smart codecs that are ‘visually lossless’, which is to say that you can’t tell by looking at them whether they are the original or the transcoded version. Apple ProRes often does a great job in this regard and it can be difficult to visually distinguish between, for example, ProRes 422 and ProRes LT. Here the former is higher quality in comparison to the latter but has a larger file size.
In video post-production there are numerous stages of the process that usually require some transcoding.
1. Creating Proxies
Most modern cinema cameras shoot in very large resolutions (4K, 6K, 8K, 12K etc.) and in RAW uncompressed file formats. These place huge demands on the editing system in terms of the required CPU, GPU and storage capacities. But they represent the highest possible quality version of the media.
The solution is often to transcode to a lower quality ‘proxy’ version of the media that is much easier to edit with and takes up a lot less hard drive space. Proxies are also easier and faster to transfer, with a service like MASV, so the editor can get started sooner while they wait for the original media to make its way to the edit suite.
Once the project is completed, the editing software can reconnect the proxy clips that were used to the original media and export a single high-quality file that is referencing the original camera files rather than the proxies, and so ensures there is no quality loss at this point.
Most video editing software, such as DaVinci Resolve, Final Cut Pro, Avid Media Composer or Adobe Premiere Pro will manage the process of creating, attaching and disabling the proxy versions of the media for you, making it a very straightforward process.
Easily Share Raw & Proxied Media
Send raw camera files and proxy media folders for a seamless proxy workflow.
2. Standardizing
Another common video transcoding workflow is e pluribus unum — the latin phrase for out of many, one. In other words, to transcode many different original media sources into one single common video format, again to make the editorial process easier and more efficient.
This is especially common in documentary production where footage may be sourced from phones, home videos, security cameras, older television broadcasts, film scans, stock footage libraries and many other places — each with their own codecs, resolutions, frame rates and file formats.
By transcoding all of these variables into one standardized frame rate, resolution and codec, it helps to weed out any errors that these differences might bring with them early on in the editorial process and reduces the computational load the editing software needs to handle to manage all of these different media sources.
3. Streaming
Streaming platforms such as Netflix, Mubi, Pop Flick, YouTube and all the others are ubiquitous today, yet each has its own technical requirements for delivering content to the platform. These files will then be further transcoded into formats suitable for mass distribution to global audiences.
Very often an editor will transcode a ‘web-friendly’ version of the final project, such as a high-quality H.264 mp4 file, as part of the final deliverables which can then be uploaded by the client to their YouTube or Instagram channel.
Sometimes this is a necessary step if the streaming channel has particular requirements such as a square or vertical aspect ratio, but often it can introduce a generational quality loss because the streaming service will, in turn, create their own transcoded version of the video.
So, if possible, it’s sometimes better to upload a higher quality, larger file size ‘master version’ of the project, say as a ProRes 422 .mov to YouTube, and then let their servers handle the transcoding process, working from that much higher quality source.
4. Archival
A final common transcoding workflow comes at the end of a project when either archiving it for posterity or transferring it to another department, such as sending the final cut from editorial to color grading.
When a project uses a large number of assets, spread across numerous hard drives, it is best to create a new unified collection of only the assets used in the final cut.
These can then be swiftly transferred with a service like MASV, that can handle huge files.
One way to achieve this is to ‘consolidate and transcode’ as you might in Adobe Premiere Pro. This performs two possible steps.
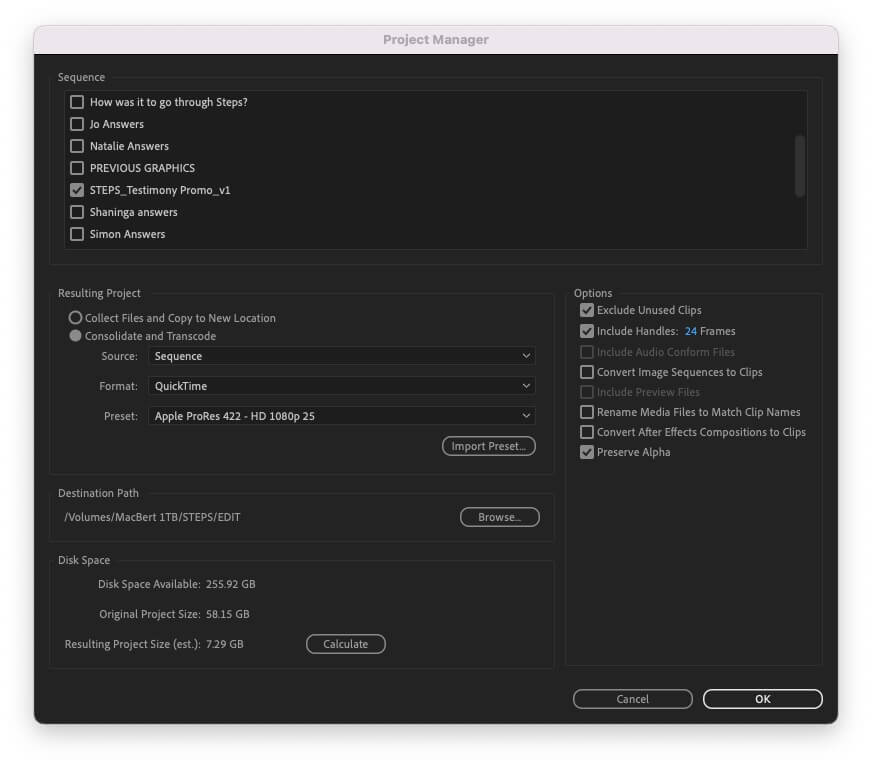
Consolidate and Transcode in Adobe Premiere Pro
- First, it can gather all the files that were used in the project and copy them into one new location. The only issue with this is that it will copy the entire source file, even if only a small snippet was actually used in the project.
- The second step then can also transcode the source media, trimming the new files to just the parts that were used, in order to save on storage space and simultaneously transcode them to a codec more suitable for archival storage or other activity, such as color grading.
Considerations When Transcoding Media
By now you can see how useful and integral transcoding is to modern video production workflows. But there are a few things that you need to consider before transcoding media:
1. Hardware
Transcoding is a time and hardware intensive process. If you have a lot of high-resolution footage to transcode, it can still take a long time, even if you have a powerful hardware setup at your disposal.
As mentioned previously, most modern video editing software tries to mitigate this by allowing you to either transcode in the background —for example in FCPX, or in another app, such as Adobe Media Encoder — while you edit in the foreground. But you’ll still see a performance hit, especially if you’re asking your computer to do two things at once.
2. Export settings
Ensure that all of your settings are correct before you set a batch transcoding of all your footage. If you don’t intend to alter the frame rate or video resolution of your new clips, you need to make sure these are set correctly.
3. Project type
If you’re planning on doing a lot of compositing, green-screen or visual effects work, you will want to choose a codec to transcode to that preserves as much image quality, bit depth, and color information as possible.
4. Relinking
A final consideration when transcoding, especially if creating proxy files, is to test that the new proxies will re-link to the original camera files seamlessly. Sometimes if there are major differences between the two, such as a different number of audio channels in the proxies compared to the original camera media, this can cause issues.
Similarly it is important to know if you will lose any crucial metadata in the transcoding process that you might be relying on, such as the original timecode, color information or source camera settings.
Fast, Secure File Transfer for Large Media Workflows
Keep your production running smoothly. Use MASV to keep your media files moving.
Video Transcoding Tools and Software
When it comes to video transcoding tools and software there are an abundance of options to choose from.
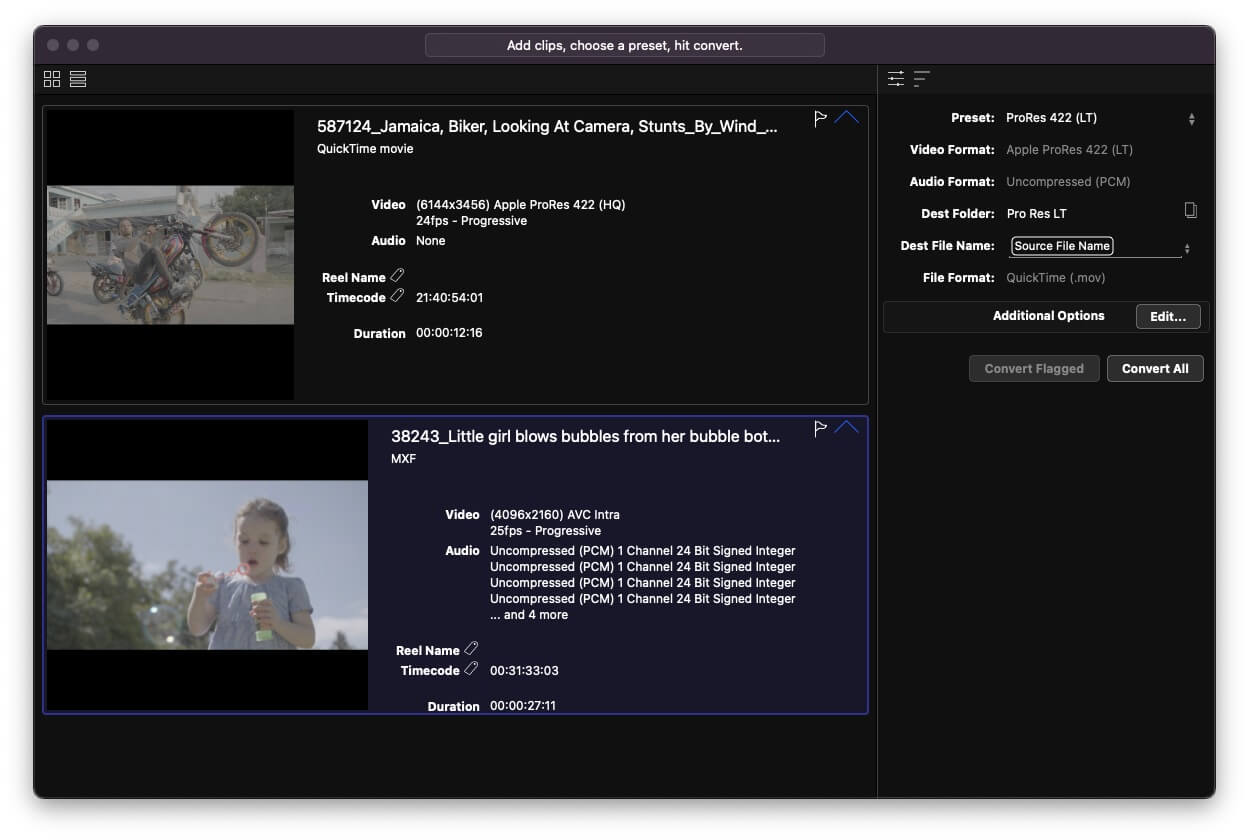
Transcoding batch footage in EditReady
If you’re an editor transcoding footage as part of your editorial workflow, you’ll likely want to stick to doing it within your video editing software if you can, as this reduces the potential for settings, file formats and codecs to be misaligned.
That said here is a shortlist of transcoding video software options you might want to consider:
- Apple Final Cut Pro (Mac only)
- Apple Compressor (Mac only)
- Adobe Premiere Pro
- Adobe Media Encoder
- Avid Media Encoder
- DaVinci Resolve
- EditReady 2 (Mac only)
- Handbrake
- MPEG Streamclip
- VLC Media Player
Conclusion – A Stitch in Time, Saves Nine
As you can see, video transcoding is a powerful and crucial step in modern video workflows. When performed correctly, it can help you save time, effort and a lot of frustration as you can create suitable transcoded media, such as proxies, that will perform flawlessly on whatever hardware you have access to.
- Transcoding improves performance when editing (without overwhelming a computer).
- Allows for smooth playback across various devices
- Makes it easier to transfer large media files.
Moving large media files can be a burden, whether the media is transcoded or not. Most online file transfer services are too slow with low file upload limits. And shipping a hard drive is just…no fun.
To effectively transfer hundreds of gigabytes and terabytes of data, video professionals and filmmakers trust MASV to get the job done quickly.
MASV is a file transfer service specifically designed to move heavy media files online to remote video teams. Send and receive large files from set to edit bays, color grading suites, and beyond with a simple web or desktop interface.
Try MASV for free today. When you sign-up, you get access to everything MASV has to offer, as well as free transfer credits to test things out.
MASV File Transfer
Get free transfer credits to use with the fastest, large file transfer service available today, MASV.
