If you’re looking to allow people to upload files to you through your WordPress site, you’ve probably realised that this is something WordPress doesn’t automatically offer. Instead, you may have come across a selection of ‘file upload plugins’ which can add this functionality to your site.
Plugins are a WordPress website’s bread and butter, but they can come with their own issues. You’ll need to roll out updates to the plugin as soon as they’re released, and may find that some plugins can really weigh your site down, a big SEO no-no which could impact on your site’s ability to rank successfully.
Put simply, if you don’t want to add another plugin to your WordPress site, or you’re just something that looks a little more polished and professional, MASV Portals will be a great option for you, and it’s one you can get started with for free.
This guide will walk you through the process of adding a MASV Portal to your WordPress site.
Heads up – you won’t be able to embed a MASV portal onto your site if you’re not using HTTPS. Check for the padlock next to your website’s address, or the https prefix to be sure that you are.
How to add MASV Portals to your WordPress site
1. Sign up to MASV Portals
Create an account with MASV – we only need your name and email address to get you setup.
2. Create your Portal
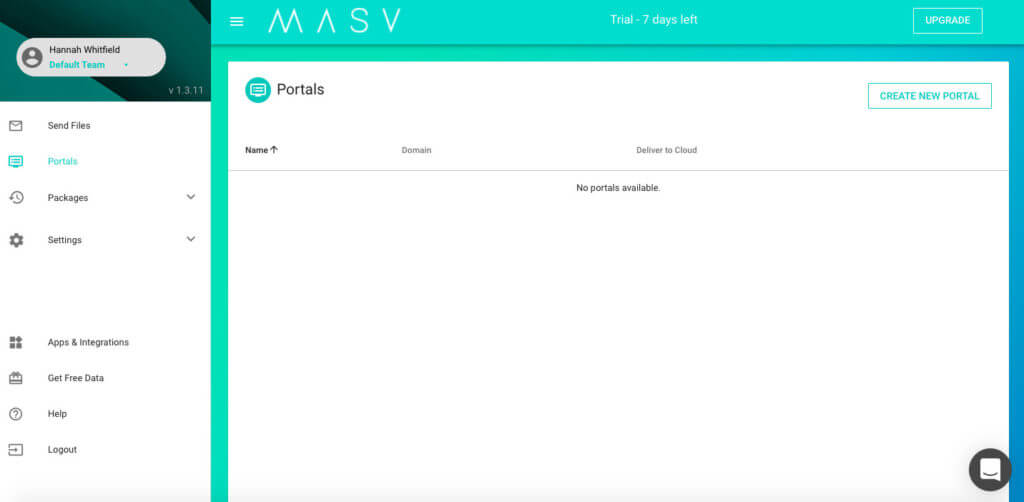
Click on the burger menu in the top left hand corner of the dashboard, then select Portals.
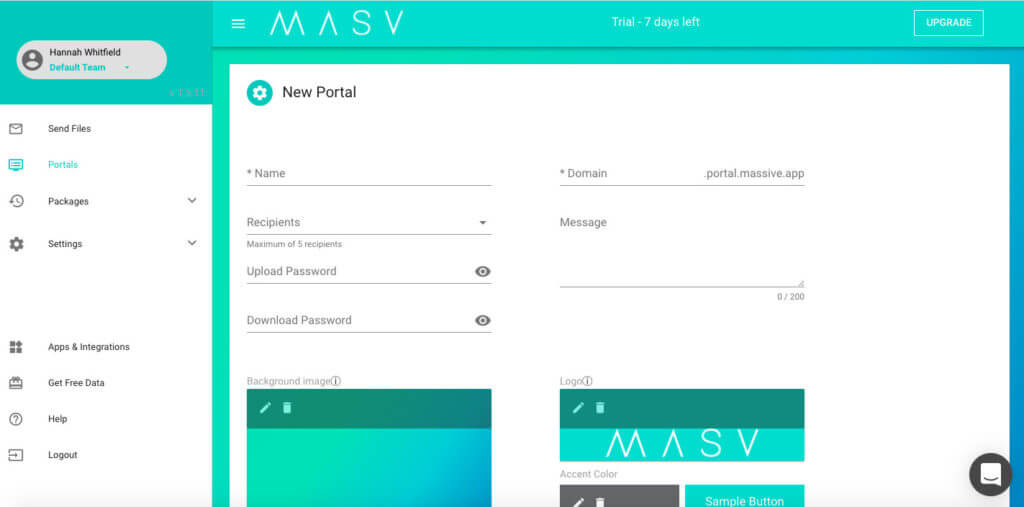
Click the button Create New Portal in the top right corner. You’ll then see this screen:
Add your own information into these fields, and note that you have the option to password protect your portal if you wish. Make the portal your own by adding your own image or logo, and by choosing an accent colour.
If you’re not sure what any field means, take a look at our guide to creating a portal for a full breakdown.
Once you’re done, hit Create Portal.
3. Create an embed link for your Portal
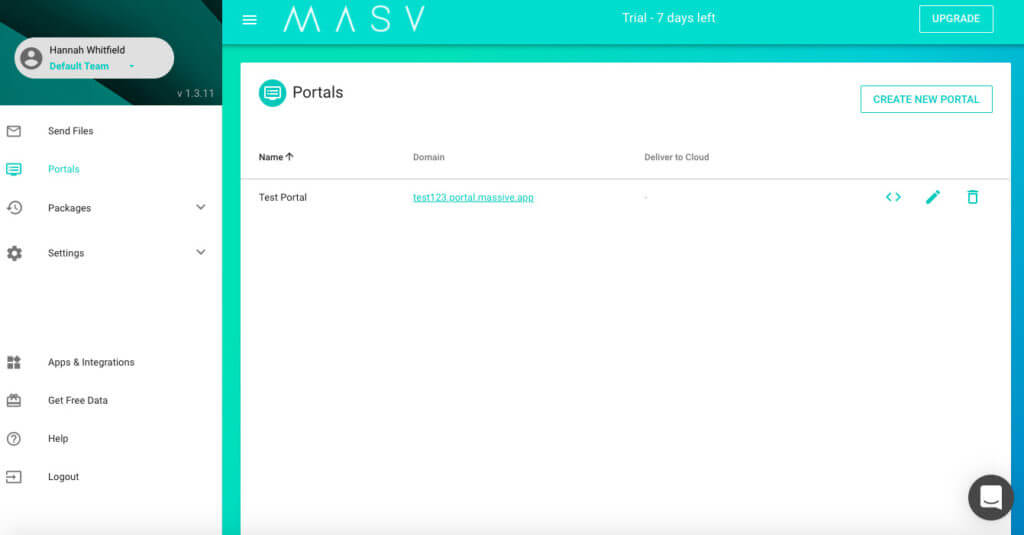
You’ll now see your new portal listed on your dashboard like so:
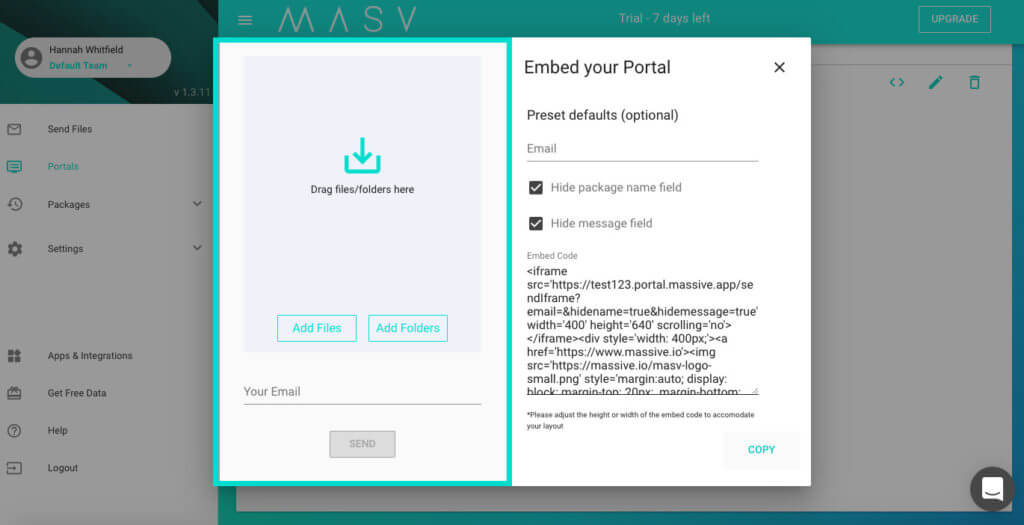
Now we’ll generate an embed link to copy across to your WordPress site. Click on the <> button, and you’ll see this screen:
We have a detailed breakdown of what each of those fields means in this guide, but selecting or deselecting these fields basically affects how much information anyone uploading files to your portal will be required to input. Selecting both options keeps the portal looking super minimal.
This is also the first time you’ll see a preview of your portal, and you can easily click out of this window and back into Edit if you spot some changes to be made.
Next, hit Copy. This will copy the link beginning ‘<iframe…’, and we’ll now move across to WordPress to embed this on your site. If you want to change these fields in the future, just make sure you recopy the link.
4. Embed the HTML snippet on your WordPress page
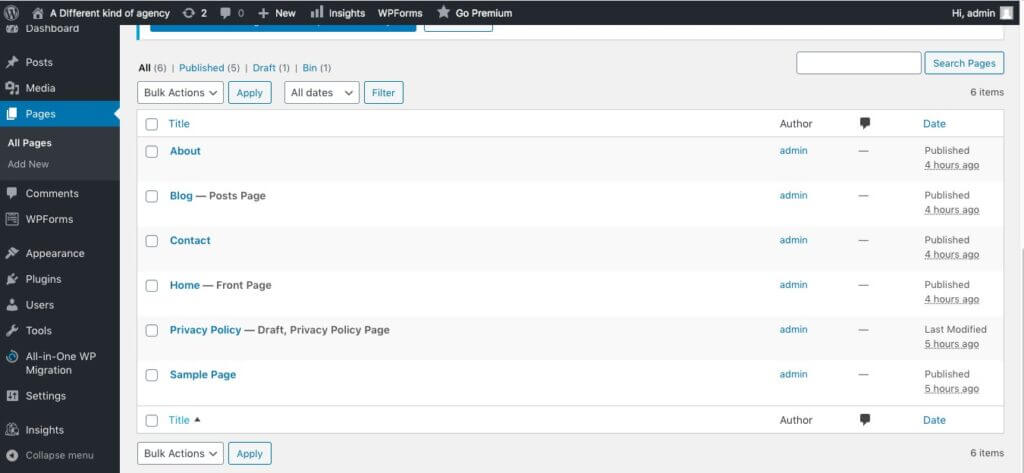
First up, make sure you’re on the site page you want to add your portal to. If your website is already live, go directly to the URL. If it’s still in progress, go to Pages in the backend of your site, then select the page you’d like to add the portal to:
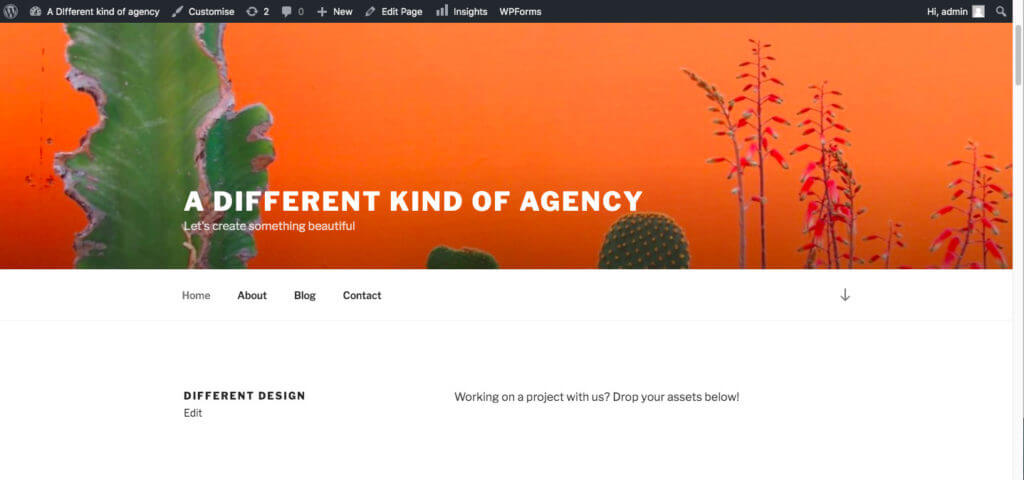
We’re going to add our portal onto the homepage, under the first block of text:
Press Edit under the section you want your portal to feature above or below. Note, if you’re adding a portal to a Post (i.e. a blog post) rather than a Page (i.e. your homepage, Contact or About pages), find your post listed in Posts, or click the Add New button to start one from scratch.
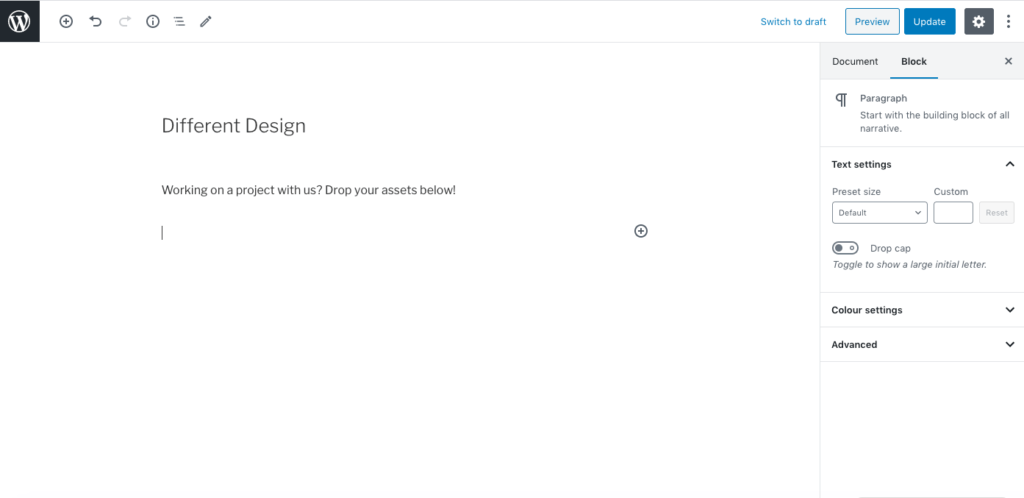
Whether a post or a page, you’ll see something similar to below:
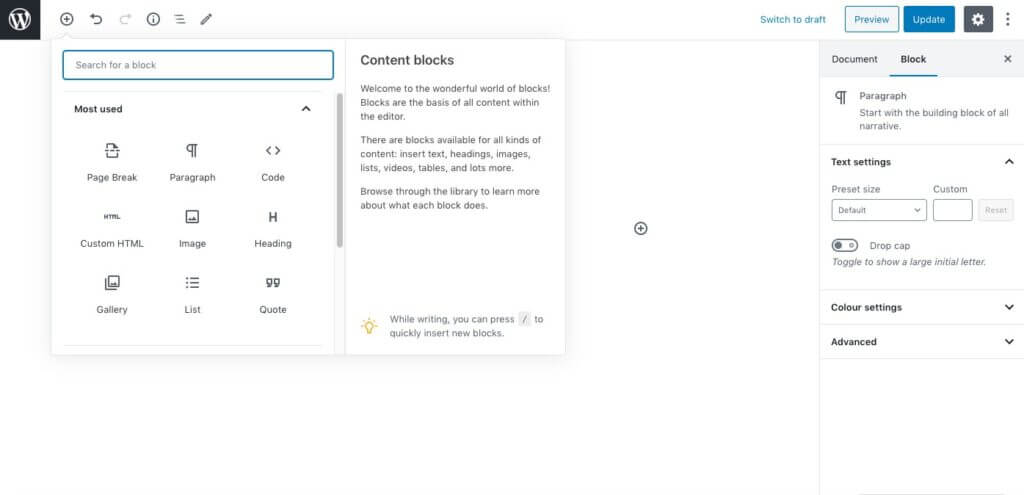
Now we need to add a new block for the link to sit within. Click the + symbol in the top left menu. This will produce the following set of options:
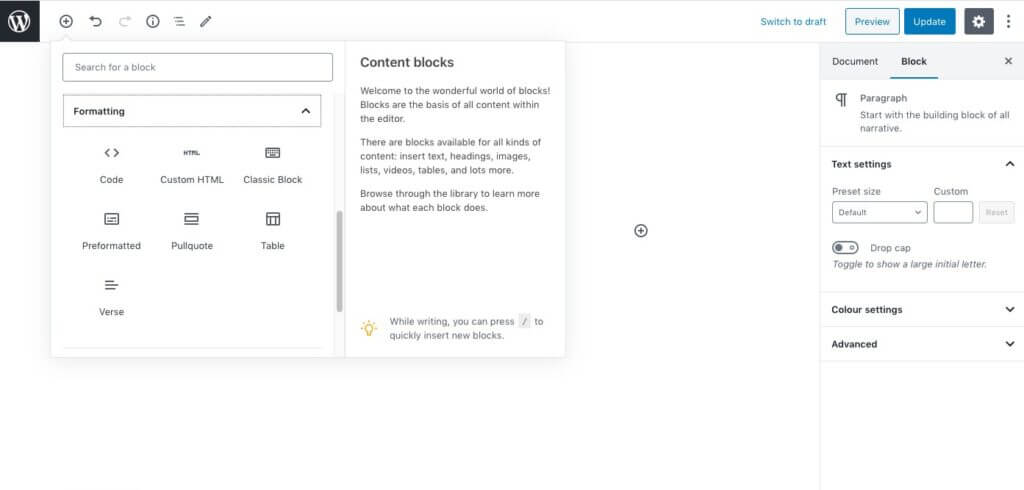
Scroll down a little and select Custom HTML Block, which is in the section called Formatting.
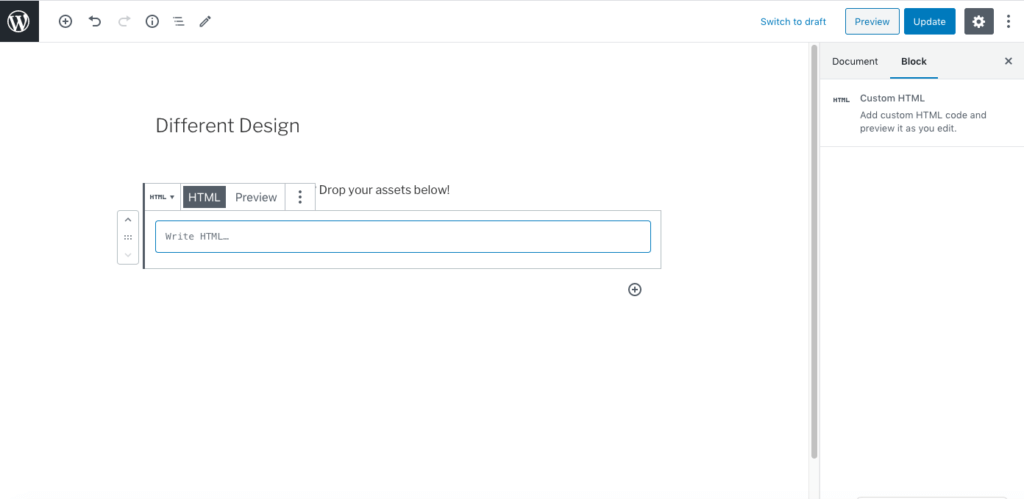
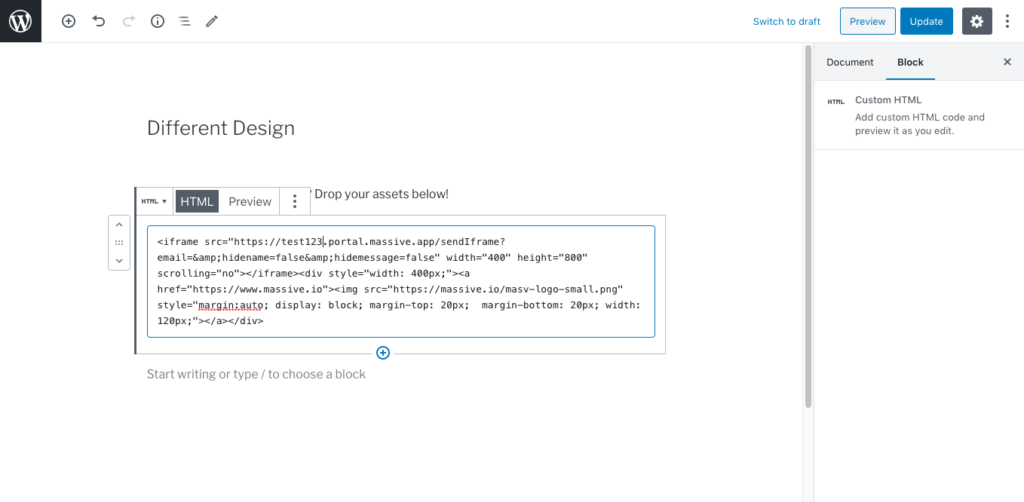
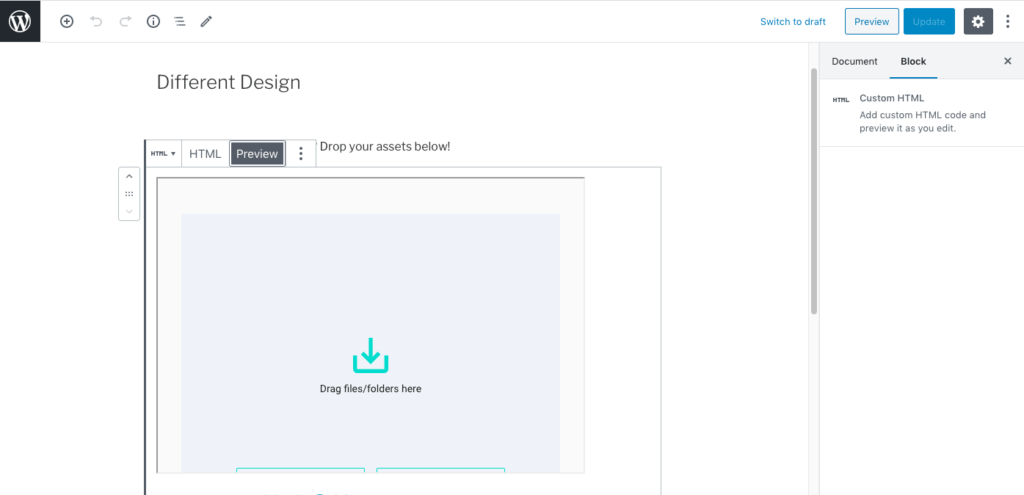
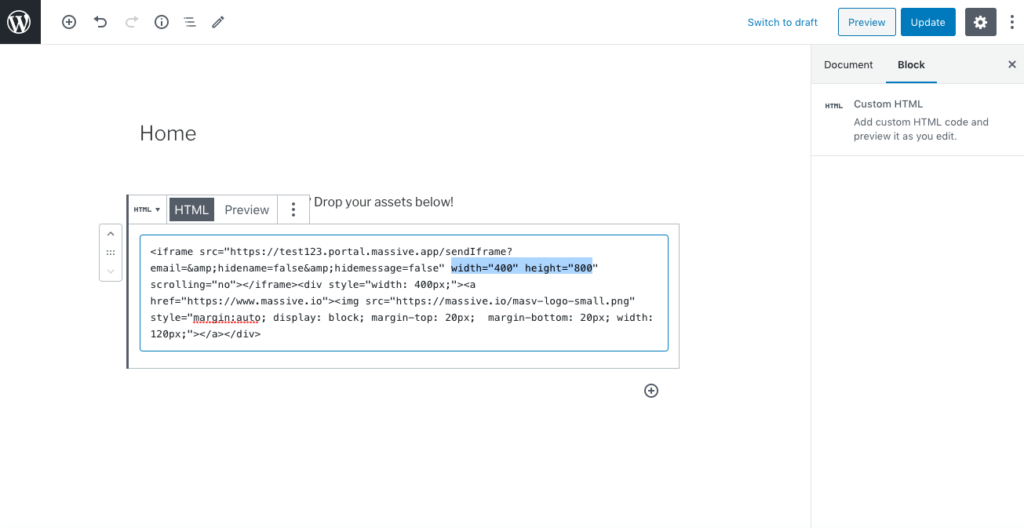
This will drop a block onto the page you’re working on. Paste your copied link where it says Write HTML…
You can then preview the block by pressing the Preview button next to HTML:
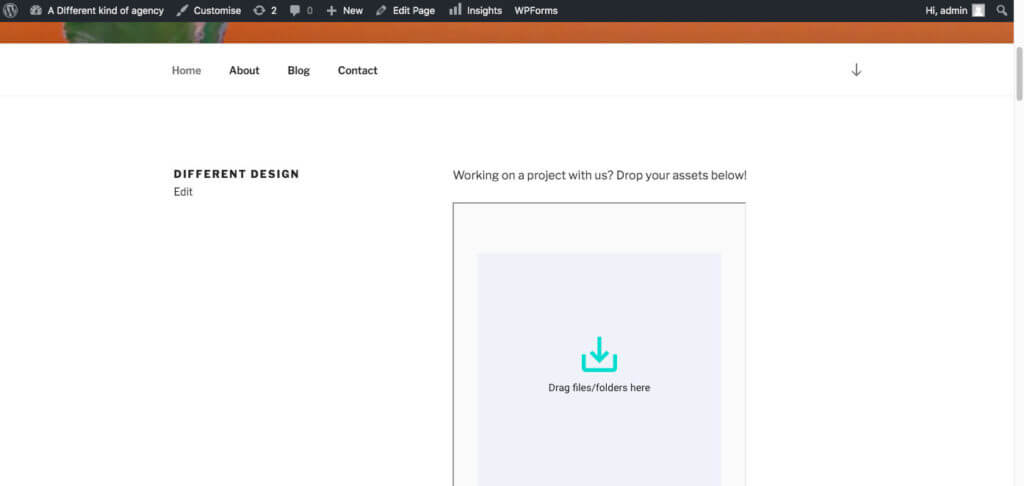
Or hit the grey button in the top right hand corner to preview the page as a whole. The preview will open in a new tab:
6. Adjust the size and look and feel of your portal
At this point, your MASV portal should be embedded on your WordPress page, and it’s time to make any adjustments.
To switch out any logos or images, you’ll want to head back over to your MASV dashboard and edit your portal by clicking on the pen-shaped Edit symbol next to its name. The same goes if you want to switch up which fields are showing. Once you’ve made these changes, recopy the embed link and paste it over the original link you added. This should draw through all your new changes.
If it’s the size of your portal that you’d like to change, this can be done within WordPress. MASV Portals are automatically set to be 400px wide and 800px tall, but you can adjust this by editing your embed link. Just find the part that says width=”400″ height=”800″, and experiment with adjusting these numbers, previewing as you go.
Once you’re happy with everything, don’t forget to hit the blue Update button in the top right hand corner to save your work and set your portal live.
And that’s it! Your portal is now live on your website. You’ll be notified when any content is uploaded at the email address you put in the Recipient field when you first set up the portal.
Please don’t hesitate to reach out to the MASV team if you need any support.
Don’t hesitate to reach out to the MASV team if you have any questions!
Get started today – It’s free!
